Tuesday, May 27, 2014

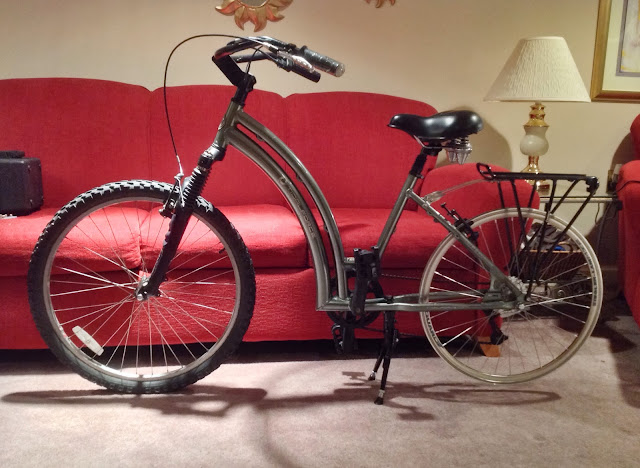
Tidalforce iO Stepthrough from parts

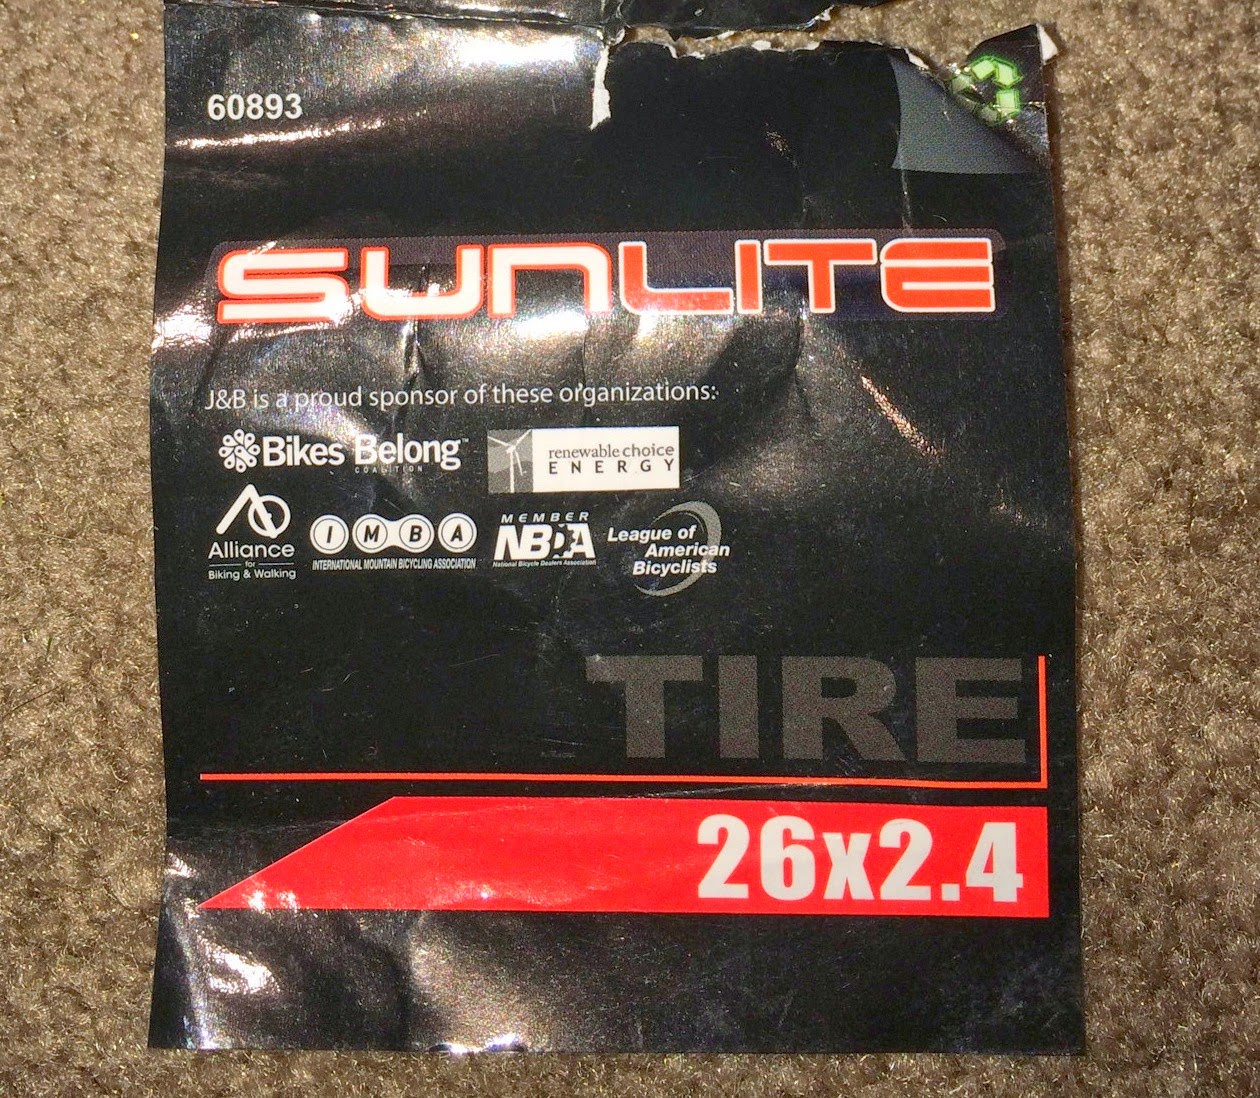
After lacing the motor into the Alexrim wheel, I thought I'd just continue and finish up installing the motor into a Tidalforce frame and completing the bike! Presenting a newly assembled Tidalforce iO Step-through from various leftover and new parts. I plan on taking this to the office and getting some rides in during the day. The rear tire is a new Sunlite 26"x2.4" Schwalbe Big Apple clone. That's the Schwalbe Big Apple on the front wheel for comparison. You can see that the Sunlite does not have the nice reflective ring painted on the wheel. I eventually replaced the disc front wheel with a cheap rim brake wheel that I picked off a neighborhood kids bike that was about to be thrown away.

Profile:

Angle:

Rear triangle


Console with stylish keys

Rear triangle before the Cycle Analyst goes on

Folding pedals and double kick stand

The label from the new tire

After the Cycle Analyst goes on and the cheap wheel goes up front

Rear triangle with Cycle Analyst

Close up of the Cycle Analyst Standalone shunt in place

Cycle Analyst V2.23 mounted on bike handlebar

Wire cluster behind the Cycle Analyst

Thursday, May 22, 2014

Laced a Tidalforce motor into a new Alexrims DM18 rim

I had about an hour and I laced my old rusty Tidalforce standard motor into a new AlexRims DM18 rim. I used my cheap custom made Klein Rapi-Driver spoke nipple tool. It was amazingly easy with the Park Tools truing stand. I do need to make a larger base for the Park Tools stand since it's not designed for such heavy wheels!

I bought the motor from a gentleman who bought the whole Tidalforce iO Stepthrough with a dead battery and decided to just toss the motor and battery and control cables. I'm happy to have it, even though it needs a bit of TLC (paint and derusting).

What was really shocking is that with the Klein nipple tool, tightening the individual spoke nipples provided an automatic torque control, essentially. Whenever I got to where the spoke was coming through the nipple enough for it to be fully seated, the spoke would force the nipple tool to unseat from the slot so that it would stop tightening. I only had to tweak two spokes afterwards to true the wheel. Brilliant!


I definitely need to derust the torque arm before too long!

Thursday, May 15, 2014

Don't do an Alec Baldwin, err, I mean, Salmoning in traffic!

Here's a very informative article on new urban bicycling terms useful for when you ride your bike to work on the 16th of May!

http://www.npr.org/blogs/health/2014/05/15/312455673/dont-salmon-dont-shoal-learning-the-lingo-of-safe-cycling

Tuesday, March 18, 2014

Batch of Controllers

I picked up an assortment of dead and working electric bike controllers over the last week. They are a little bit of everything.

A Lyen 9 FET mini-monster controller.
A 12 FET Infineon controller
A 15 FET Infineon controller
A 12 FET Crystalyte sensorless controller

Then another couple of controllers showed up on Endless-sphere.com.

A 12 FET 36-48V 30A controller
A 12 FET 48-84V 35A controller

These are supposedly sensored/sensorless which would be very handy!

Pix below. Can you spot which one is which?


Wednesday, March 5, 2014

Cycle Analyst Data Analogger with GPS

I bought a Cycle Analyst Data Analogger with GPS on eBay a while back. The unit came with a High Current Cycle Analyst which I really didn't need. I sold the CA-HC and kept the CA-LOG_GPS.

Can't wait to connect it to the bike and take some tests with it! The unit is amazingly small. It's only 80 x 40 x 19mm or 3.15 x 1.6 x 0.75"! It's about the size of a deck of cards that have been cut in half down the middle. It comes with all the cables and also a 1GB microSD memory card.


Saturday, February 22, 2014

Getting ready for spring!

With the possibility of warm temperatures tomorrow, I quickly charged up the Tidalforce iO Cruiser's batteries to prepare for a nice ride. I also quickly put some old wheels on the Tidalforce iO step-through in order to take it to the LBS (local bike shop) tomorrow for a fitting of a rear brake line, a rear derailleur cable and perhaps a tube and tires for the rear wheel!


Thursday, January 16, 2014

Park Tool TS-8 Truing Stand

I borrowed a neighbor's Park Tool truing stand a while back and needed to return it. I've missed it ever since! I decided to buy one ASAP. This is not the TS-2 model that he had but it's very basic and seems well built and very accurate. I need to add a piece of plywood to the base in order to balance better but in all other respects, it seems to do the job.